As a member of the Monolytics team, I am responsible for design and product, and my work experience has always revolved around creating various types of services and supporting them at different stages of development. However, what was often overlooked in such products was User Testing. In many cases, we had a scenario where a product manager came up with something based on insights or user feedback or received a task from the business (from the big boss), and then they handed it over to the designer, believing that the designer knows how to do it best. The designer thinks, “Oh my, no,” but of course, they design something based on the incoming information and their experience. After brief discussions, this is all pushed into development and dumped on bewildered users in production. Have you experienced this too?
Even in ideal laboratory conditions, if we knew exactly what and in what form we needed to create for the user – what value, in what form, at what point to implement it – then even simply passing the idea from hand to hand cannot make it as holistic as possible. It’s important to understand that even in the most accurate form, information undergoes significant changes when transitioning from the user to the finished solution because we all have different contexts, experiences, preferences, knowledge, and the final solution may differ and may not completely address the user’s job. As a result, the product becomes unfocused, loses customers, loses money, and exits the market.
Usability Testing – cheap and easy way to get feedback as early as possible. Ideally, as soon as you have the first layout, it’s best to show it to users right away. The cost of a mistake at this stage is only a couple of hours of design, but with each stage and the involvement of more team members (and maybe different teams), the cost quickly rises.
All of the above falls under one of the fundamental rules of UX: you are not your user. User Testing (or Usability Testing – it’s the same thing) is the tool that helps you sync up with reality and your audience most effectively.
Why Usability Test (or User Test)?
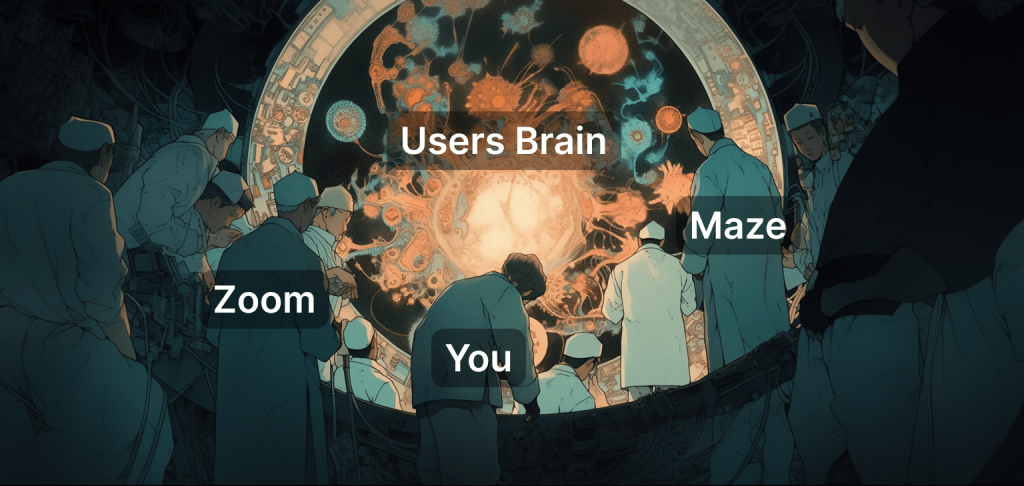
I would describe usability testing as an attempt to get inside the user’s mind and see how well your neurons are firing in sync. In a usability-testing session, a researcher (called a “facilitator” or a “moderator”) asks a participant to perform tasks, usually using one or more specific user interfaces. While the participant completes each task, the researcher observes the participant’s behavior and listens for feedback.
This test allows you to:
- Identify problems in the design of the product or service
- Uncover opportunities for improvement
- Learn about the target user’s behavior and preferences
There are different types of Usability Tests, and they can be done both through web tools and face-to-face with the user, which is preferable. There are various techniques, but I’ll briefly tell you about my experience. We experienced the times of the pandemic, so we had to conduct usability interviews remotely.

1. Using Maze Platform for User Testing
When time is tight, one of the most effective methods for Usability Testing is to create layouts in Figma and then transfer them to Maze in just a few clicks. In this program, you can quickly create a clickable prototype (I should note that you don’t need to create many scenarios and make everything clickable; focus only on the essentials), describe the tasks that need to be done by the user, and formulate questions for each slide. Then you can share this usability testing through Maze with some users on their side by paying a small fee, but I do not recommend doing so. However, it’s even better to take a link to such a survey and show it directly to your target audience. To do this, you can use Monolytics, for example, to create a survey directly for the segment of your audience that seems most important from a business perspective, using targeting options. Create an open survey with a topic like “Want to help us make the product better? (You can play around with the title),” and in the affirmative answer to the question, give a link to the Maze survey. Depending on your traffic, responses can pour in within a couple of hours. You don’t need many responses, to be honest – in this case, this combination was used by me for high-quality research, and I often had enough up to 5 respondents to understand the general picture and see the mistakes in the layout. But if we are comparing several layouts or planning significant changes, quantitative assessment can also be effectively used.
The results of the usability testing provided by Maze include answers to your questions about each design screen you are testing, as well as heatmaps of clicks – showing where users clicked and which areas were active. Heatmaps (I wrote more about heatmaps here) can be especially helpful in this case. If a specific task was given to the user on a particular screen, and the user clicks in an area different from what you intended as the correct answer, it will be clearly visible on such a heatmap. Unfortunately, using Maze, you won’t get a video recording, which is a drawback of this approach.
2. Quality Usability Test via Zoom
It’s quite simple, actually – you can again gather users using the Monolytics service and target the survey to the user group you need (e.g., English-speaking or Spanish-speaking audience). Those who agreed to take the test were automatically redirected via the Calendly service to schedule a personal meeting. Calendly allows you to fill in empty slots in your calendar with appointments. Finally, in the meeting with users, I provided a link to the Maze service (but you can also use Figma to show linked layouts in just a few clicks) and gave them a task to perform specific actions. Also, in this case, I always asked the user to speak aloud everything they were thinking (called the “think-aloud method”) – this is crucial, and there’s a great article about it by Nielsen Norman. It’s great because you can hear a lot of interesting insights that you didn’t even expect. Another advantage of a face-to-face meeting with the user is that at the end of the test, you can ask more open questions about the tested prototype, the service in general, or even the idea of the feature itself. It’s priceless!
I would like to emphasize separately that formulating the right tasks is a particular science. They should be short and concise so that the user.
I want to stress the significance of crafting effective tasks for usability testing. These tasks should strike a balance between being succinct and clear to ensure that users understand what’s expected of them. Simplicity is key. Here are some real-life examples:
- **You have some photos that you’ve uploaded to the service. Where do you expect to see them in the interface?
- **You have a design, but you need to change its style. How would you go about doing that?
- **You have a ready project, but you prefer the previous version that you had earlier. How can you restore it?
Sometimes, the task preparation phase took more time than any other aspect of the usability test preparation. Therefore, I would strongly recommend reading this article on creating effective usability tasks: Better Usability Test Tasks: 19 Tips to Improve.
To sum up, after usability testing, you will most likely have a clear understanding of what’s not working (unfortunately, you’ll often discover mistakes). This is normal, and it embodies the essence of an iterative design approach. The initial feedback helps refine planned changes and avoid errors in subsequent development stages. The next step in validating the product hypothesis you’re working on is A/B testing, but that will be covered in the next article.


